Are you running a landscaping business and are ready to scale? Perhaps business is steady, but you’re not looking for steady — it’s time to enter a chapter of growth. If this sounds like you, it’s time to reevaluate your business processes and find the right tools to ensure you are equipped for success. 🙌
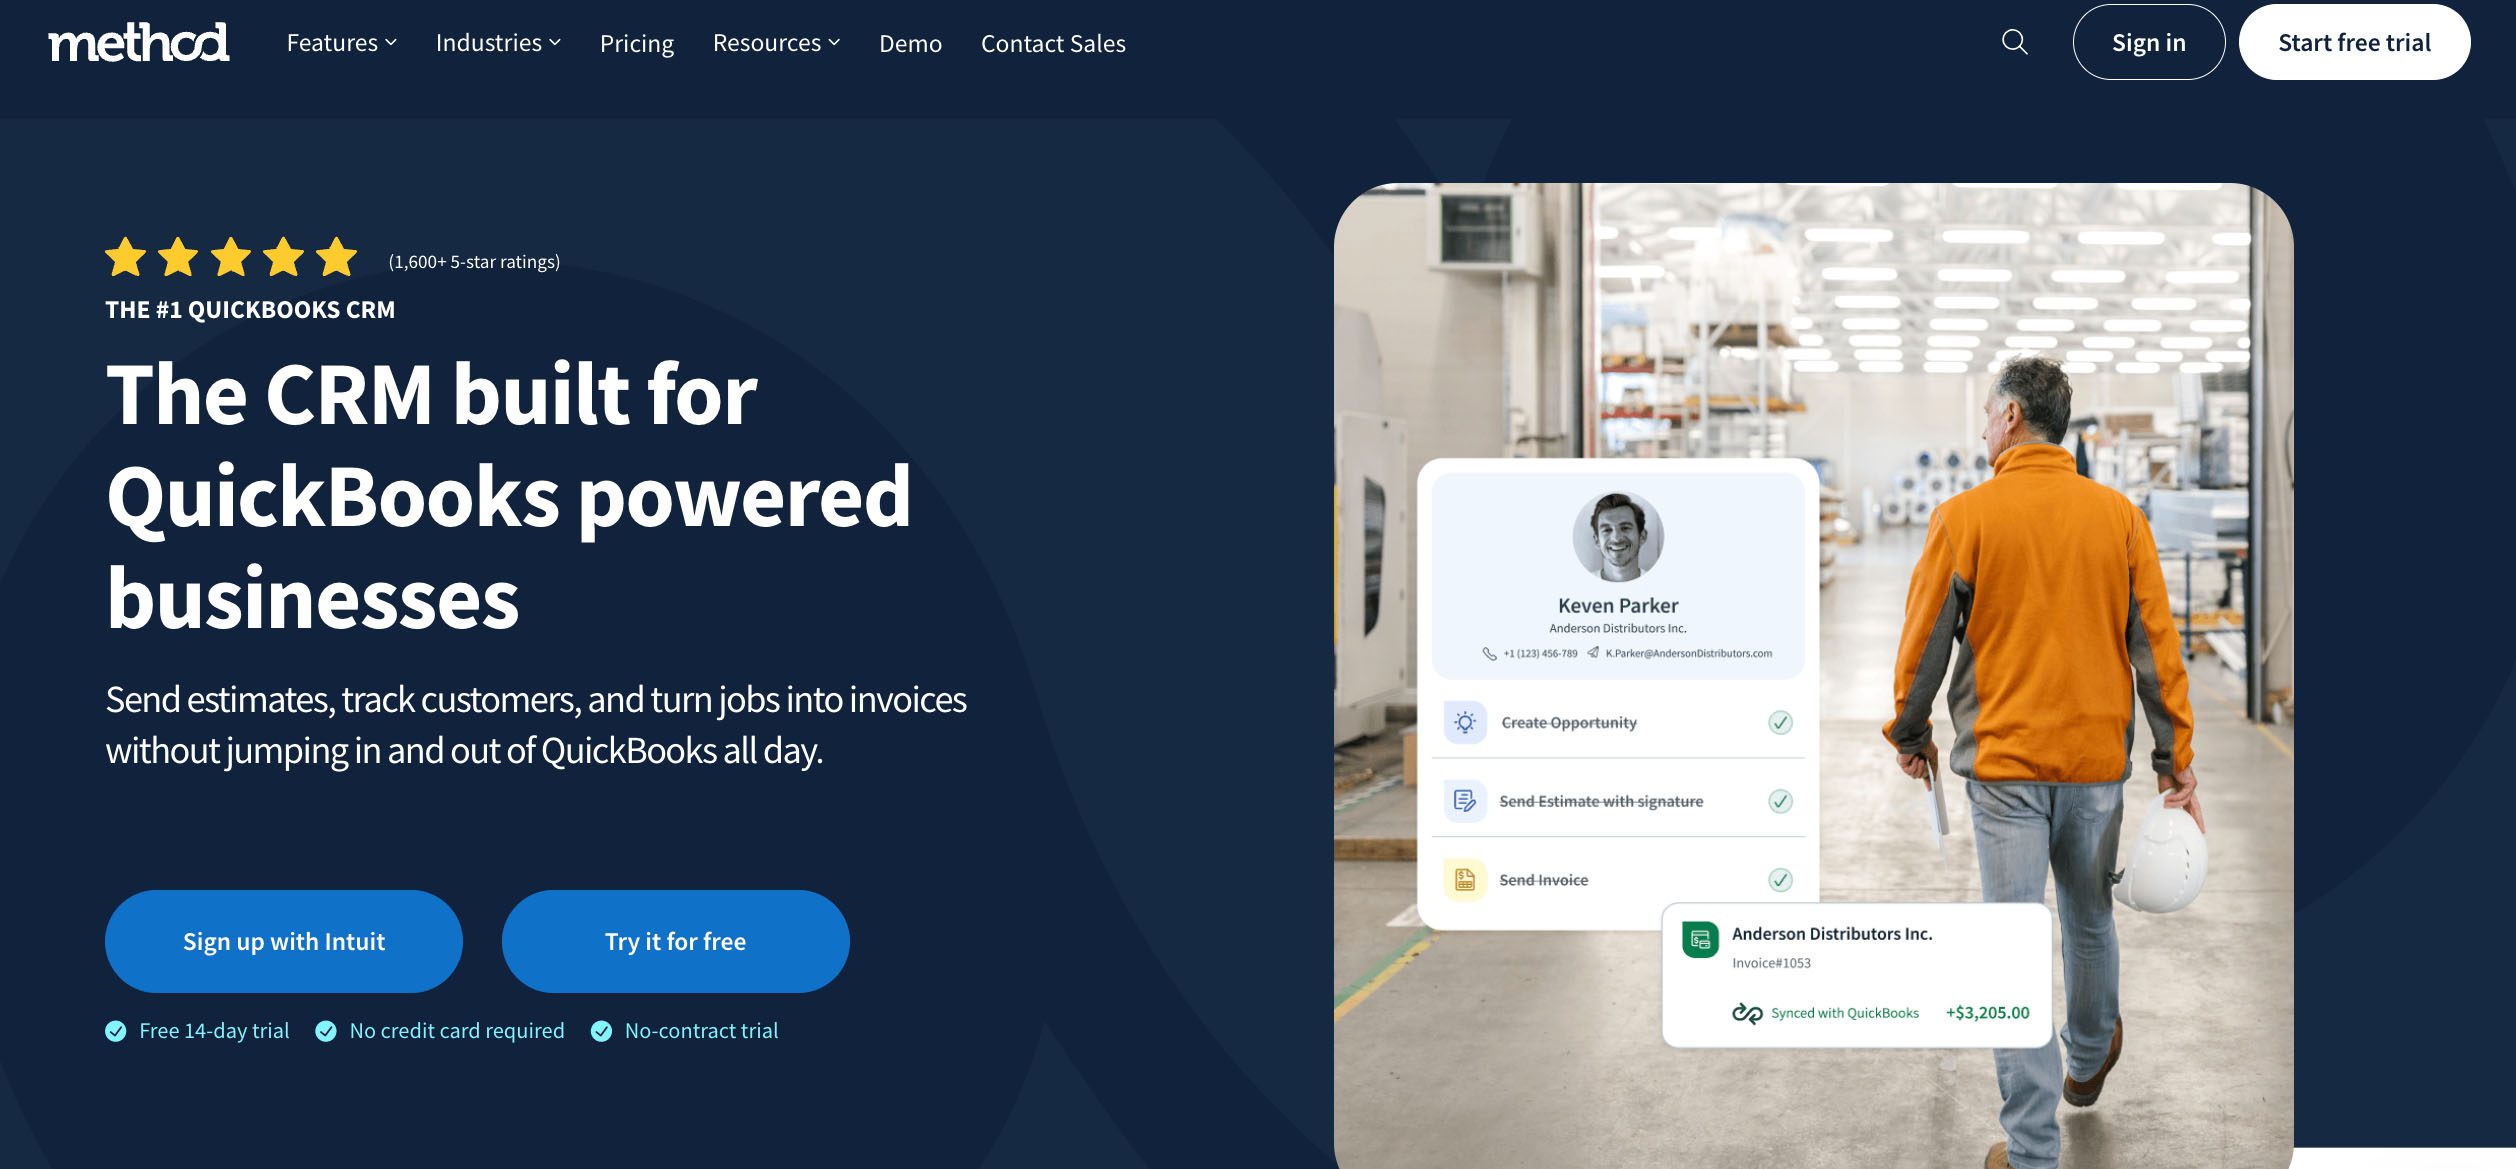
One way to achieve this is by using proper landscaping business software. Busy landscaping businesses need tools that work on desktop and mobile, keep office and field teams in sync, and connect seamlessly with their accounting — tools like Method CRM for field services, an all-in-one cloud-based field service management solution. 💡
As your business thrives, you’ll tackle bigger projects, focus on growing revenue streams, and find ways to continuously attract and maintain customers.
Here at Method CRM, we’ve been supporting QuickBooks-based businesses since 2010. Method is loved by field service businesses for its industry-specific customization services and its instant, two-way QuickBooks integration that keeps your back office and technicians in sync. In this guide, we’ll walk you through practical steps and tools to help you successfully grow your landscaping business. 🌳🍃
Table of Contents
- Challenges of landscaping business growth 🚩
- Phase 1: Build a solid foundation 🔨
- Phase 2: Marketing and lead generation for landscapers 🎯
Challenges of landscaping business growth 🚩
Like any other business, a landscaping company comes with its own hurdles to overcome. And some can be unexpected. Small issues can turn into major setbacks if you’re not prepared.
Here are some landscaping business challenges to watch out for:
- ❄️ Seasonality: What do landscapers do during winter? The off-season slows yard work, so you can’t rely only on mowing and trimming. You can choose to branch into related services like gutter cleaning or snow removal to have steady work throughout the year.
- 📉 Fluctuating demand: Weather, local trends, and economic shifts can create unpredictable spikes or drops in jobs. Flexible schedules for your team and targeted marketing strategies for specific audiences balance the highs and lows.
- 🏆 High competition: Competing solely on price rarely works nowadays. You should also focus on providing a high-quality customer experience, with top-notch service and transparent client communication.
- Labour challenges: Specialized professionals are hard to find, and a high turnover can disrupt operations. Prepare to invest in training programs, provide fair pay, and set manageable workflows to keep crews engaged and productive.
- 😵💫 Disorganized operations: Growth without a clear system leads to confusion. Missed calls, double-booked jobs, and lost leads are common. A dedicated landscaping CRM and business software keep your data and teams coordinated.
- 🤯 Trying to offer “everything”: Offering all kinds of services to every customer spreads your resources too thin. Focus on your target audience and services that match your strengths, whether it’s hardscaping, lawn care, or seasonal projects.
Another consideration is how you prefer to get work. Do you aim to land one-off jobs that keep cash coming in fast, or build recurring landscaping services that bring steady income and predictable schedules?
- 👥 New customers: Bringing in new clients is exciting but requires more effort in marketing, estimates, and building first impressions. With every client, it’s a first-impression opportunity each time. You can use a landscaping estimate template for accurate expectations and to keep clients happy from the start, and drive repeat business.
- 🌿 Recurring landscaping services: While contracts for weekly or monthly maintenance mean less flexibility (as you’re tied to a set schedule), this creates steady revenue streams. Another great thing is that these agreements simplify your scheduling and improve client retention.
Check out our guides on commercial mowing contracts and commercial lawn care contracts to see how these approaches work in practice.
Phase 1: Build a solid foundation 🔨
Every successful business has a base on which to build. Start with a landscaping business plan that outlines your services, pricing, and service area so you know exactly where you’re heading.
You can also look into landscaping grants, which are funding programs that help cover startup or expansion costs. These can take pressure off tighter budgets and give your small business a more confident launch.
The steps below lay the groundwork for your business’s foundation.
1. Define your niche and flagship services 🌱
It’s hard to be an all-in-one company, especially if you’re just starting out. You’ll first need to find your niche and flagship services (high-margin jobs you want to be known for).
As a general rule, pick one or two core services. That means you can do lawn maintenance, hardscaping, snow removal during the off-season, or a mix, but make sure you can deliver without overextending your resources.
That way, when someone’s looking for a crew that handles lawn maintenance, they’ll think of you, and they’ll share your phone number through word-of-mouth.
2. Create a profit‑focused pricing strategy 💰
Having a profit-focused pricing strategy ensures that you know exactly how much to charge for your landscaping services. That way, you avoid the guesswork and avoid undercutting your own rates. Factor in labor, equipment, materials, and overhead, then add your margin.
For example, if a project costs $300 in labor and $150 in materials, adding a 40% margin puts your final price around $630. To avoid low-value jobs, set minimum project sizes so your time is well spent.
You can also use tiered pricing, like a basic package (mowing + trimming), a premium package (add fertilizing or hedge work), and upsells (like seasonal cleanups). Offering multiple packages gives clients options to choose from while also increasing your average revenue.
For recurring contracts, consider pricing them slightly lower per visit. The upside is that this guarantees consistent volume. Price one-off projects higher to account for setup and extra labour, since these take more time and resources than routine work.
Read our tree trimming cost estimate guide for accurate pricing.
3. Set up systems and tools 🛠️
Running a business manually can quickly become exhausting. The right business apps and platforms streamline your operations and data, saving you from having to pick up the slack.
Use a CRM platform to track leads and follow-ups. Then, use automation tools to send quote reminders, seasonal offers, and upsell messages by SMS or email. With these tools, there’s no need to send and keep up with clients one by one.
For instance, using tree care service software, you could schedule crews for multiple yards in one neighbourhood, monitor equipment use, and automatically ping clients for reviews after jobs. It’s a level of functionality that opens you up to bigger growth opportunities.
Read our guide on the best lawn care software.
Phase 2: Marketing and lead generation for landscapers 🎯
Once your foundation is set, the next step is getting people to notice you. Growing your business requires a marketing plan that covers both traditional and digital marketing.
Landscape marketing is generally quite hands-on, as you’ll need to personally reach out to clients and build trust. It’s especially effective since landscapers serve clients within a set service area.
Read more about effective marketing ideas to grow the presence of your landscaping company.
4. Local SEO and website optimization 👨🏻💻
A well-designed landscaping website works like a digital storefront, serving people who are more likely to search before they call. You also need to optimize your site for search engines using search engine optimization (SEO) tactics so you show up when people look for landscaping services in the area.
Consider these tips for SEO success:
- ⌨️ Target local keywords: To attract nearby traffic, use terms like “landscaping services [city].”
- 👨💻 Blog for authority: Write seasonal guides and how-to posts to pull in potential customers searching for answers.
- 🌐 Polish your website: A mobile-friendly design with fast load times and clear calls to action converts clicks into calls.
- 🖥️ Google Business Profile and online listings/directories: Keep your account details, including your Name, Address, and Phone number (NAP), consistent across listings to maintain accuracy across the board.
5. Social media and visual content 📲
Think about the last time a post stopped you from scrolling and encouraged you to check out what’s being offered. Your business has the potential to do that on social media. With landscape work, visuals are often more effective. And when done right, much of your social media marketing can be done at little to no cost.
Here are a few tips to make an impact on social media:
- 🤳 Pick your social media platforms: Instagram, Facebook, and TikTok are where most homeowners browse for inspiration, but also choose platforms that fit the type of content you plan to create.
- 📸 Show before/after photos: Show, don’t tell. Highlight your high-quality landscaping work through visuals.
- ▶️ Post short videos: Time-lapses of interesting landscaping jobs and short videos explaining useful tips grab viewers’ attention.
- 🗣 Engage with your online audience: Polls, Q&As, and stories make you more approachable and help you learn your target audience better.
6. Paid advertising and promotions 📣
One of the most common advertising strategies is using paid ads and promos. Unlike organic reach, which can be unpredictable, a paid ad puts your name in front of people at the right time. Combine this with promotions to keep you competitive and visible during peak seasons.
Here are some paid ad and promo ideas:
- 💻 Google Ads/ Pay-Per-Click (PPC): Geo-target your service area so you’re not wasting clicks.
- 📱 Facebook/Instagram ads: Run campaigns tied to nearby ZIP codes.
- 🌸 Seasonal promotions: Push for limited-time spring cleanups, preparation for fall, or winterization to keep crews busy year-round.
Tip: Budget a safe range of around 5–10% of your revenue for ads. For example, if your landscaping business earns $200k a year, $10–20k can support a consistent ad campaign.
7. Referral and review programs ⭐
Satisfied clients are your best promoters, and word-of-mouth marketing can spread fast. You can set up a referral program that rewards your loyal customers for sending new clients your way. And as a bonus, asking for reviews builds credibility online.
The more positive feedback you collect, the more trust you earn with potential customers who haven’t met you yet.
Here are some tips when getting referrals and reviews:
- 🎁 Offer incentives: Happy customers can refer new clients, and you can maintain that momentum by offering discounts, service upgrades, or gift cards as rewards.
- 🌟 Request reviews: Make reviewing simple and seamless with QR codes or links for Google/Yelp.
- 💬 Showcase testimonials: Share client feedback front and center as a way to increase your social proof.
8. Partnerships and local networking 🤝
A landscaping company thrives on having strong ties to the community. Partnerships expand your reach, while networking roots your name in the local industry.
These are great ways to network locally:
- 👤👤👤 Take part in collaborations: Connect with realtors, garden centers, builders, or other landscapers for mutual referrals. For example, a realtor might call you to spruce up a property before listing, while you can recommend that same realtor to homeowners looking to sell.
- 🙋🏻♂️ Be present: Sponsor or attend community shows, expos, or seasonal fairs.
- 📇 Use print handouts: Some potential clients aren’t active online. Target neighbourhoods with engaging flyers and door hangers to stay top-of-mind.
Phase 3: Scaling operations and diversification 📈
When the jobs start rolling in, the focus shifts to managing growth. You’ll need to build on the momentum and prepare for scalability through proper business management. This involves organizing your crew, keeping billing consistent, considering possible expansions, and, of course, having a mindset for continuous improvement.
Here’s how you can give structure to your growing business.
9. Hiring and training crew 👨🏫
If you’re running your landscaping business on your own, you’ll eventually hit a wall. At that point, you’ll need to be open to hiring employees.
Once you’ve hired, train your team on standard operating procedures (SOPs) so every job stays consistent. SOPs cover client communication, equipment care, safety, and service standards. Then, as you grow, add supervisors and team leaders to oversee your crews.
Quality control systems, like post-job checklists, maintain consistency across multiple teams. A reliable team creates a business that can scale.
10. Adding new revenue streams 💵
Sticking to just landscaping can limit your growth, especially when seasons change.
To keep your business revenue steady all year, explore new revenue streams like:
- ⛲ Hardscaping: Add services like patios, walkways, or retaining walls. These jobs typically cost more than routine landscaping and draw in clients who want complete outdoor space maintenance.
- 👆 Upselling services: Upselling means offering extras on top of your core service(s). For landscaping, you can consider mulching, irrigation, planting, or outdoor lighting. With minimal extra effort, each job gets a higher value.
- 🍂 Seasonal maintenance plans: Offer plans for leaf cleanup, fertilization, or snow removal. These packages create predictable cash flow during slower months and keep you connected to clients in the slower season.
11. Geographic expansion and franchising 🌎
After you’ve built a stable operation, consider whether expanding to new markets makes sense. Test a new area first (maybe a nearby town or suburb) with a single crew or through limited service.
While expansion is a necessary next step towards growth, you should pay careful attention to logistics like travel time, fuel costs, and the extra trucks or storage you’ll require.
You can also consider licensing or a franchising model, where others run a branch under your brand. Franchising works best once your systems, branding, and SOPs are tight, so others can reproduce your business model successfully.
Expansion is ambitious, but with a strategic plan in place, it can quickly increase your reach and market presence.
12. Continuous improvement and metrics 📊
Staying competitive means tracking data and making adjustments. A smart landscaping company constantly reviews data to see what’s actually working.
Track common KPIs (key performance indicators) like:
- ⬆️ Lead volume: How many people show interest?
- 💯 Conversion rate: How many leads become paying clients?
- 📈 Job profitability: How much profit is left after costs per job?
- ❌ Customer churn: How many clients did you lose over a certain time?
Then, pair the numbers with real-world insights. Run regular process reviews and collect client feedback to catch problems early.
Double down on what works, forget about what doesn’t, and keep your business sharp for long-term growth.
Off‑season strategies to maintain cash flow ✅
The off-season is when lawns stop growing and outdoor projects slow down. Without a plan, your revenue can dip while expenses keep coming. The good news is you can prepare for it.
Landscaping businesses that treat the off-season as part of the cycle rather than a dead end tend to succeed.
Take note of these strategies to keep revenue steady in the off-season:
- 🧊 Snow removal and ice control: If your region gets winter weather, offer plowing, shovelling, or de-icing services.
- ✍ Design and planning services: Use the winter months to help clients map out spring projects. Landscape design consultations can lock in future work before the busy season.
- ⛄ Winter cleanup contracts: Leaves, branches, and storm damage don’t disappear on their own. Cleanup services are in demand year-round.
- 💰 Commercial cross-selling: Businesses often need seasonal contracts for snow or exterior upkeep. Target commercial clients to balance out the residential slowdown.
Tip: Use the quieter months to train your crew, plan marketing campaigns, and service equipment so you’re ready to hit the ground running in spring.
Summary and next steps 📝
Building a landscaping business that lasts means following a clear growth path:
- ✏️ Foundation: Define your niche, pricing, and systems.
- 🤩 Marketing: Use your website, SEO, social media, and referrals.
- 📶 Scaling: Hire a reliable team, expand services, and track performance.
- 🥶 Off-season: Keep cash flow steady by creating revenue streams that carry you through the year.
Then, turn these steps into action with a practical checklist or roadmap worksheet, so you can check off your wins as you grow.
Running a business becomes more efficient when everything’s connected. A CRM system that ties together field crews, the office, and accounting keeps your business’s growth on track. That’s exactly what Method CRM for field services delivers.
Read how Method helped a local landscaping company bounce back and boost sales after a recession.
From job scheduling and dispatching to invoicing and route optimization, Method handles your day-to-day processes while instantly syncing with QuickBooks. You can generate estimates on the spot, track job costs, dispatch crews with routing, and convert work orders into invoices without having to ever retype data.
Use the data and workflow tools Method offers to gain visibility into every part of your company. This way, you’ll always know what’s working, what’s lagging, and where to push next.
Try Method for free — no credit card required. 🙌
Frequently asked questions
How do I differentiate my landscaping business from competitors?
Instead of trying to do everything, choose one or two services you can deliver better than anyone else. Build your name around reliability and customer experience. Even simple details like branded trucks, clean uniforms, and fast estimates can also set you apart and have people remember you.
How can I effectively market my landscaping business?
Start by reaching out in your local community. Make sure you have a professional landscaping website, a complete Google Business Profile, and active social media accounts so people can easily reach you. Encourage referrals and keep your branding consistent. Use local SEO so your business shows up when people search for nearby landscaping services.
If you have the extra budget, post targeted ads during the peak season to pull in more leads.
What are the most profitable services in landscaping?
The most profit comes from services with recurring or high-ticket value. Lawn maintenance contracts, for instance, bring predictable revenue. Meanwhile, hardscaping projects like patios or retaining walls offer big payouts. Seasonal services such as snow removal or fall cleanups can keep cash flowing year-round.
Your most profitable service combination depends on your service area and the type of clients you target, whether residential or commercial.