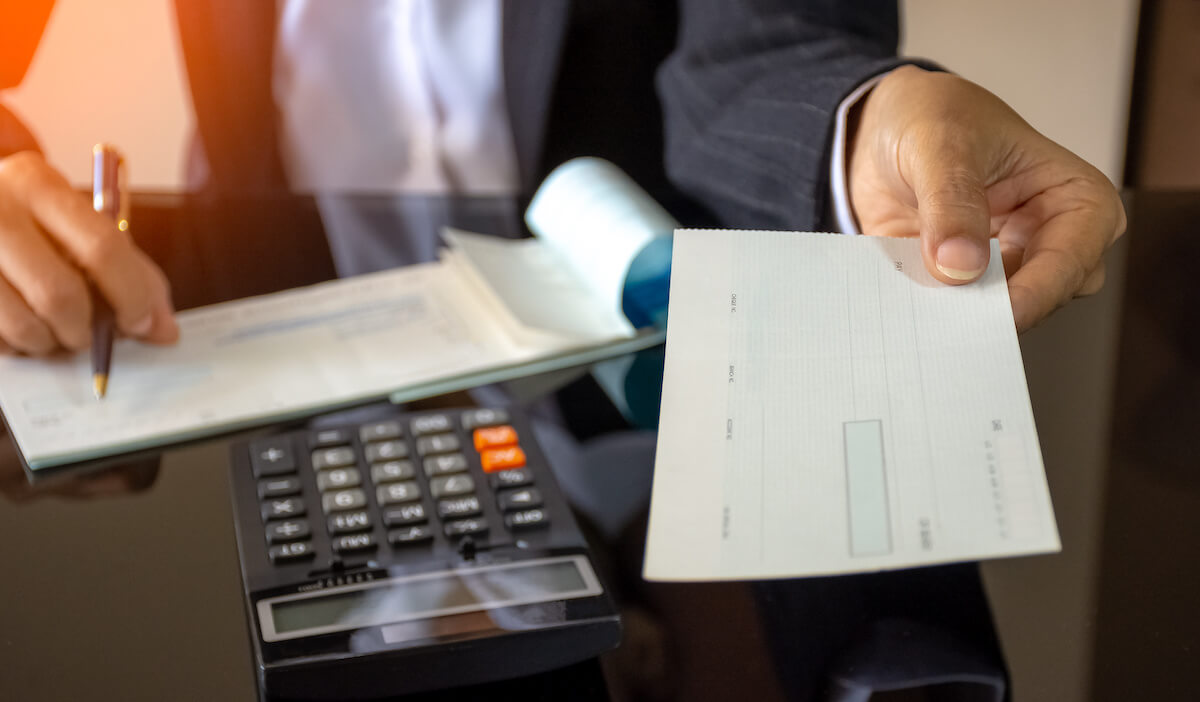
When you’re under pressure to receive a deposit and the check bounces, it can push you over the edge.
It’s especially annoying when you document the check in your system before it bounces, and it then messes with your records. To maintain accuracy, it’s essential to learn how to record returned checks in QuickBooks Online.
The good news for small business owners is that QuickBooks Online makes this easy. You can log each change in your account and record it under a specific category or type, including:
- Sold products and services.
- Company expenses.
- Recurring sales and payments.
- Returned checks.
- Refunds and cancellations.
Here’s how to record returned checks in QuickBooks Online as smoothly as a full-time accountant.
What is a bounced check?
A bounced check, also known as a returned check, happens when you cannot process a check. This occurs due to irregularities in the payer’s bank account when attempting to deposit money into the payee’s account.
When this happens, the payee is charged a fee and the payment is reversed back to your company.
How to reconcile accounts after a check bounces
Part of learning how to record returned checks in QuickBooks Online is to identify the following information:
- Customer name.
- Check number.
- Date of return.
- Returned check amount.
- Bank fees associated.
- Reason for return (e.g., NSF — non-sufficient funds).
Once this information is identified, you need to reconcile your accounts. Here’s how:
- Update the status of the returned check in QuickBooks so that it won’t affect your records.
- Check your expense account for bank fees.
- Mark the NSF fee charged to the customer.
- Send a notification to the customer that their check was returned, with the proper documentation attached (e.g., bank notice).
- Send them a new invoice with the updated balance due, including the bounced check fees. You can also add notes or a memo on the transaction.
- Make income account adjustments once you’ve received the new payment.
- Record the impact on your financial statements.
Once the new invoice is created and the amount is adjusted, all you need to do is lay back and wait for the new check to arrive.
However, you still need to learn how to record returned checks in QuickBooks Online.
The importance of recording a bounced check in QuickBooks Online
Recording a bounced check ensures your financial records are accurate, which is key to understanding your business’ financial health.
QuickBooks Online provides an efficient method to track and document these incidents. So, once a check is marked as returned in your system, you can rely on QuickBooks to handle the aftermath.
By handling these records, you ensure the correct amount is allocated to the corresponding transaction.
Methods to record a returned check in QuickBooks Online
To record a returned check in QuickBooks Online, you need to make sure that:
- The information is entered accurately.
- The charged fee is deducted from your expense account.
- The new payment is processed correctly and is tracked closely.
- The bounced check is posted on your customer records.
- The customer is notified of the adjusted payment balance.
- Your payment receipt is updated with the new amount.
With these follow-up actions taken, you’ll have tidy records and maintain good customer relationships.
Using an expense to record a returned check
The first method to record a bounced check requires you to:
- Adjust accounts receivable.
- Create and allocate items for bank charges.
- Update the customer account status.
To maintain accuracy and financial health, you must:
- Enter service items for bounced check fees and bank service charges.
- Document the NSF fee charged to the customer.
- Note any income account adjustments.
- Ntify the customer and request repayment.
Now, here’s how to record returned checks in QuickBooks Online:
- Click on “+ New.”
- Choose “Expense.”
- Locate the “Payee” field and choose the customer who returned the check.
- Use the “Payment Account” drop-down to pick the account intended for the deposit.
- Fill in the Payment date field with the date the check bounced.
- Expand the “Category details ▼” drop-down list.
- In the “Amounts are” field, click “Out of Scope of Tax.”
- For the “Category”, choose “Accounts Receivable.”
- Type a memo such as “bounced check” or “NSF check” in the “Description” field.
- Input the check’s amount in the “Amount” field.
- To finalize, click “Save and Close.”
Knowing how to record returned checks in QuickBooks Online means you can balance your outstanding invoices with ease.
Using an invoice to record a bounced check
Using an invoice to record a bounced check is only possible when you meet these conditions:
- The failure to receive the payment is recorded.
- The bank fee is reconciled.
- The status of the original customer invoice is reported as “open” and unpaid.
Once you’ve done this, you can resend the unchanged, original invoice back to your customer, as it remains unsettled. You can then refer back to your invoice records to see your history of returned checks.
If you want to charge your customer for the bounced check fees, generate a new invoice. It’s important to keep the original invoice the same for this purpose. To do this, follow these steps:
- Click on “+ New.”
- Navigate to “Customers” and select “Invoice.”
- Choose the customer name, then fill in the check’s return date in the “Invoice date” field.
- In the “Amounts are“ section, choose “Out of Scope of Tax.“
- In the “Product/Service“ column, use the drop-down menu to pick the “Bounced check fee“ item you’ve previously set up.
- Specify the fee amount for the bounced check. Use the “Description“ field to explain the new charge to your customer.
- Finish by clicking “Save and close.“
Using a journal entry for a returned customer check
To record a bounced check in a journal entry:
- Click “+ New.”
- Choose “Journal Entry” under the “Other” section.
- Fill in the date the check was returned in the “Journal date” field.
- On the first line, pick “Accounts Receivable” from the “Account” drop-down.
- In the “Debits” column, type the bounced check amount.
- Select the customer from the drop-down menu in the “Name” column.
- On the second line, click the appropriate bank account from the “Account” drop-down menu. The “Credits” field should automatically reflect the amount.
- Insert a brief explanation for this entry in the “Memo” field.
- Hit “Save.”
This way, you ensure the bounced check is acknowledged and properly recorded. Next, you need to resolve the original invoice and associate the check with the journal entry you’ve just created:
- Navigate to “Sales” and click on “Customers.”
- Click on the name of the customer who issued the bounced check to view the “Transaction List.”
- Find and click on the record of the bounced check.
- Uncheck the invoice initially covered by the check, then click “Journal Entry” to link it.
- Choose “Save.”
Now you’ve you’ve connected the bounced check to the journal entry. The final step is to record the bank’s service charge for the bounced check as an expense.
Handling bounced checks written by you
When a check you’ve written bounces, you need to enter a reversing journal entry and manage bills and payments accordingly. This includes deducting the overdraft charges from the appropriate expense account and creating a new bill payment check.
Pro tip: Create and print your checks directly on QuickBooks so that you always know your account’s balance before making a payment.
Manage a bounced check you wrote
Now that you know how to record returned checks in QuickBooks Online, let’s see how to manage a bounced check you wrote. First, there’s a reversal entry required:
- Go to the “Company” menu and click on “Make General Journal Entries.”
- Verify that you correctly filled the “Date” and “Entry No.” fields.
- In the journal entry, debit the checking account by the bounced check’s amount.
- Credit the A/P (Accounts Payable) account by the same amount.
- Input the “Vendor name.”
- Add any memos for additional details if needed.
- Click “Save & Close.”
Now, you have to reassign the bill payment and link it to the journal entry:
- Access the original bill payment check.
- Remove the selection from the bill(s) initially settled by the bill payment check.
- Mark this in the “Journal Entry” you made when recording a reversal journal entry.
- In the “Memo” section, note that the check was returned due to insufficient funds.
- Click on “Save & Close.”
Then, you must document the overdraft fees incurred. This is only necessary if your vendor charges you the overdraft fees, which you should expect. Here’s how:
- Navigate to the “Vendors” menu and click on “Enter Bills.”
- Type in the “Vendor name.”
- Use either the “Expenses Tab” or “Item Tab” to record the overdraft fees. This ensures that you select the correct account or item.
- Use the “Memo” field to clarify that these costs stem from an NSF bill payment check.
- Select “Save & Close.”
Finally, you’ll have to issue a new payment for the unlinked bills. Once you’ve unlinked the original payment from the bills, QuickBooks will automatically mark their status as “unpaid.” This means the payment option will become available on the “Pay Bills” page.
That’s it! Once this is handled, you can rest assured that your records are accurate and up to date.
How QuickBooks users strengthen the lead-to-cash process
Even if you know how to record returned checks in QuickBooks Online, what about the rest of your lead-to-cash process? Method CRM comes in handy when the capabilities of your accounting software hit their limits.
Method is the #1 automation tool for QuickBooks users, as it offers a two-way sync that updates your information on both platforms in real time. Method CRM:
- Tracks your leads and customers through the conversion pipeline.
- Manages every interaction you have with leads and customers.
- Collects leads and payments with online tools.
- Lets you create personalized quotes and invoices.
- Organizes and centralizes your business data.
- Gets you paid sooner.
Key takeaways
Overall, learning how to record returned checks in QuickBooks Online is essential for accurate bookkeeping. Remember that:
- QuickBooks Online offers several methods to manage returned checks efficiently.
- Detailed documentation and reconciliation processes are vital to maintain accurate financial records.
- Recording bounced checks is just one part of simplifying your lead-to-cash process.
If you’re ready to extend the limits of QuickBooks, consider third-party tools like Method CRM to get paid more reliably.
Frequently asked questions
Can I bill a customer for NSF fees in QuickBooks Online?
Yes, you can create a new invoice with NSF fees to bill your customer. This process requires you to:
- Enter the NSF fee charged to the customer.
- Adjust the income account accordingly.
- Document the action taken.
How do I handle multiple bounced checks from the same customer?
To handle multiple bounced checks from the same customer, record each bounced check separately to ensure accurate tracking and billing. Keeping detailed records, including customer account status and follow-up actions, is crucial for managing multiple incidents. For repeat offenders, you can consider blacklisting or taking legal action against them.
Is there a way to automate the recording of bounced checks in QuickBooks Online?
While complete automation is unavailable, QuickBooks Online lets you create recurring invoices and set up reminders to complete different transactions. Setting reminders simplifies the process of recording returned checks.
Ready to make your payment process easier for everyone? See what Method can do for you.
Image credit: NIKCOA via Adobe Stock


